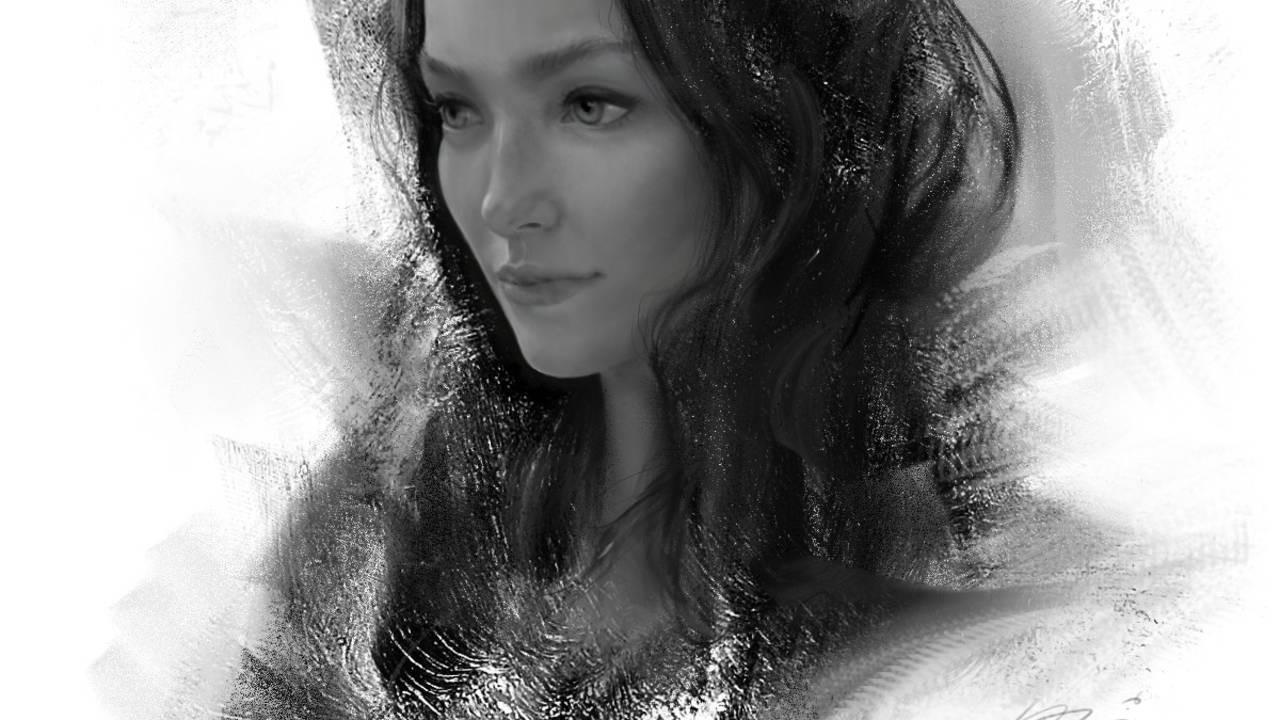
Problem with arm control and drawing with accuracy

How to Begin Controlling Your Mark Making
A student of mine recently asked about mark making and pencil control when drawing portraits with traditional media.
He says, "can you give me some advice in relation with the pencil grip and arm control? actually I do want to draw with just my arm and shoulder movement. I see that great masters do it that way, but it's pretty difficult. I know it requires practice but can you help me with some trick or something, because I feel that I loose a lot of accuracy and precision.
There's no 'trick' or magic or even a pill for this that'll make it suddenly better.
To start, in the early stages of doing a new motion/skill, even if you've been doing it for a while, everything is kind of random. You are doing it a mix of wrong and right, and you really can't tell when you are in either camp, and, there are a lot of completing movements that are trying to take over, most of which you are not conscious of.
According to Troy Grady, who teaches highly complex guitar picking techniques and methods of training, "there is research out there to suggest that this period of randomness when you first learn a new physical skill is not only semi intentional but also positive." He says that it's your bodies way of trying out every way to do something to find out which one has the most positive feedback. I like that.
Nevertheless, let's begin by asking a simple question: how big are you drawing? When drawing traditionally this is a very relevant question and has a lot to do with whether you use your shoulder or arm or wrist or fingers, and therefor the amount of control you have.
Here are a few simple guidelines
When drawing big, such as on 18 x 24 inch paper draw with your shoulder/arm and elbow. This is the block in stage and so you'll need to stay loose and blocky (lots of straight lines and big plane changes) so that you avoid the trap of getting into the details too soon. Make sure your head has a front, 2 sides, a top and a bottom. Build the house, don't decorate it yet :)
The next step after the primary shapes are in is to go for the secondary flat 2D shapes. Space and place the position of the features first vertically and then laterally. This stage will likely require arm and wrist movement and less shoulder movement.
Next you can start to "volume-ize" the 2D shapes and make them go bump.
As you move in and hone the drawing eventually you will get to the details. These are the tertiary forms and values that comprise the rendering stage and shows the affects of light on a form. This will require smaller movements and thus you will be drawing with your fingers more.
To conclude
You won't always be drawing from your shoulder and arm making big movements. That makes it hard to stay accurate and tight when you need to. Rather, you will be using a range of motions from broad and sweeping down to small and tight depending on what stage of the drawing you are in. Being conscious of what stage of the drawing you're in and then practicing the appropriate range of motion will bring relief to your pain in this area.

